If you appreciate the work done within the wiki, please consider supporting The Cutting Room Floor on Patreon. Thanks for all your support!

A Hat in Time (Windows, Mac OS X)/Version Differences/Special Builds/May 28 2018 DLC 1 Leak Build/Cubemap Details

From The Cutting Room Floor
Jump to navigation Jump to search

This is a sub-page of A Hat in Time (Windows, Mac OS X)/Version Differences/Special Builds/May 28 2018 DLC 1 Leak Build.

The Arctic Cruise

Docks

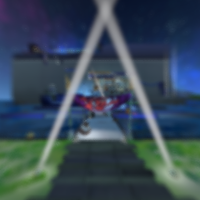
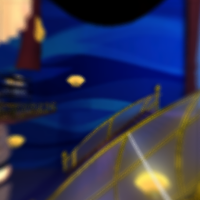
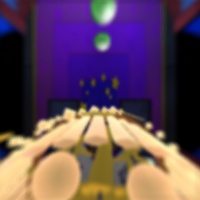
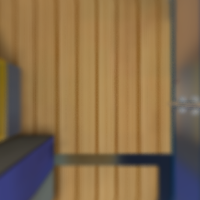
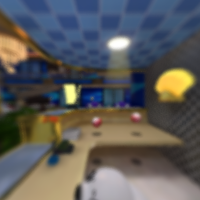
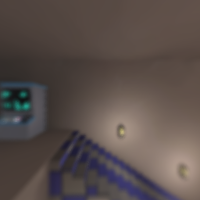
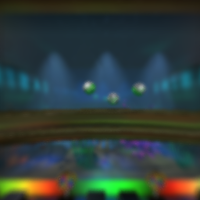
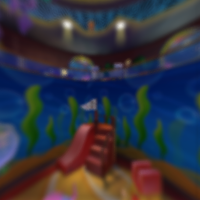
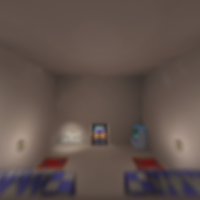
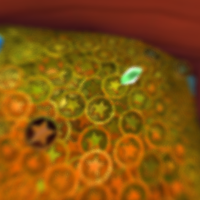
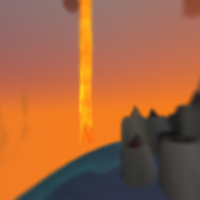
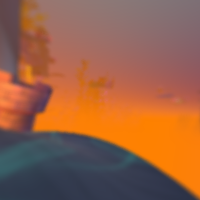
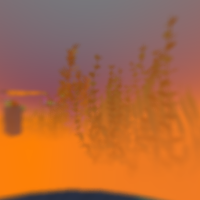
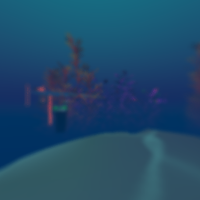
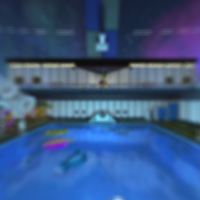
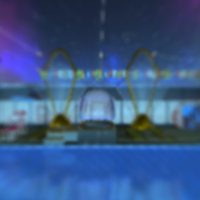
AHatIntime CubemapFace2(DocksLeak).pngAHatIntime CubemapFace1(DocksLeak).pngAHatIntime CubemapFace3(DocksLeak).pngAHatIntime CubemapFace0(DocksLeak).png
AHatIntime CubemapFace5(DocksLeak).pngAHatIntime CubemapFace4(DocksLeak).png

AHatIntime CubemapFace2 3(DocksLeak).pngAHatIntime CubemapFace1 3(DocksLeak).pngAHatIntime CubemapFace3 3(DocksLeak).pngAHatIntime CubemapFace0 3(DocksLeak).png
AHatIntime CubemapFace5 3(DocksLeak).pngAHatIntime CubemapFace4 3(DocksLeak).png
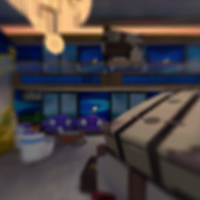
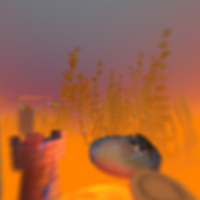
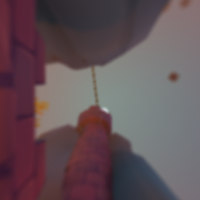
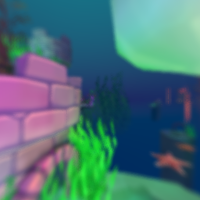
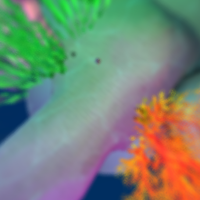
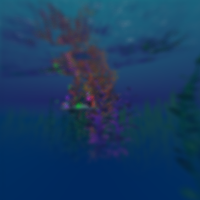
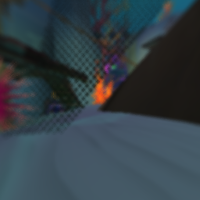
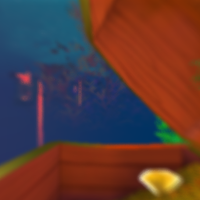
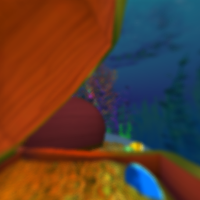
Two cubemaps of the docks, showing the placeholder mafia banner at the entrance to the boardwalk, the lack of grass compared to the final version, the different skybox, and the early design for the entire ship's hull.

AHatIntime CubemapFace2 5(DocksLeak).pngAHatIntime CubemapFace1 5(DocksLeak).pngAHatIntime CubemapFace3 5(DocksLeak).pngAHatIntime CubemapFace0 5(DocksLeak).png
AHatIntime CubemapFace5 5(DocksLeak).pngAHatIntime CubemapFace4 5(DocksLeak).png
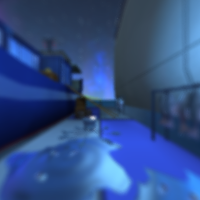
Another cubemap, this one much closer to the ship, on the boardwalk. Two shocking squid enemies can be seen, like in the final.


Main Ship
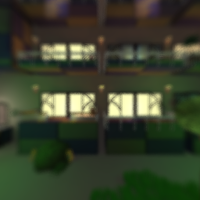
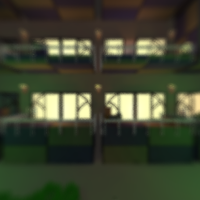
AHatIntime CubemapFace2(CruiseLeak).pngAHatIntime CubemapFace1(CruiseLeak).pngAHatIntime CubemapFace3(CruiseLeak).pngAHatIntime CubemapFace0(CruiseLeak).png
AHatIntime CubemapFace5(CruiseLeak).pngAHatIntime CubemapFace4(CruiseLeak).png
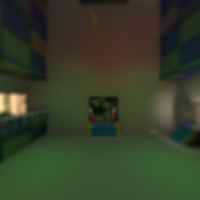
The placeholder garden room. The towels that use an early version of their texture are, sadly, not visible.
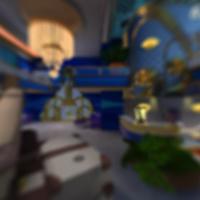

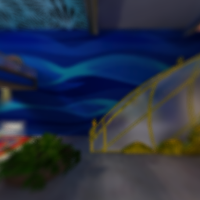
AHatIntime CubemapFace2 3(CruiseLeak).pngAHatIntime CubemapFace1 3(CruiseLeak).pngAHatIntime CubemapFace3 3(CruiseLeak).pngAHatIntime CubemapFace0 3(CruiseLeak).png
AHatIntime CubemapFace5 3(CruiseLeak).pngAHatIntime CubemapFace4 3(CruiseLeak).png
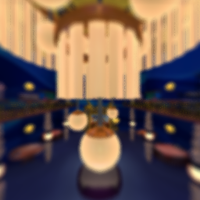
A cubemap of the lobby, showing off the room's different textures and two-color wall design.


AHatIntime CubemapFace2 11(CruiseLeak).pngAHatIntime CubemapFace1 11(CruiseLeak).pngAHatIntime CubemapFace3 11(CruiseLeak).pngAHatIntime CubemapFace0 11(CruiseLeak).png
AHatIntime CubemapFace5 11(CruiseLeak).pngAHatIntime CubemapFace4 11(CruiseLeak).png
A cubemap inside the vent that connects the lobby to the corridor behind the engine room.
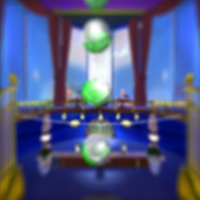

AHatIntime CubemapFace2 5(CruiseLeak).pngAHatIntime CubemapFace1 5(CruiseLeak).pngAHatIntime CubemapFace3 5(CruiseLeak).pngAHatIntime CubemapFace0 5(CruiseLeak).png
AHatIntime CubemapFace5 5(CruiseLeak).pngAHatIntime CubemapFace4 5(CruiseLeak).png
A cubemap of the dining room, showing off the room's different textures and overall incomplete look.
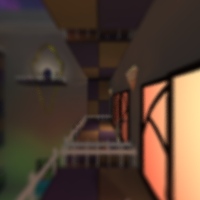

AHatIntime CubemapFace2 9(CruiseLeak).pngAHatIntime CubemapFace1 9(CruiseLeak).pngAHatIntime CubemapFace3 9(CruiseLeak).pngAHatIntime CubemapFace0 9(CruiseLeak).png
AHatIntime CubemapFace5 9(CruiseLeak).pngAHatIntime CubemapFace4 9(CruiseLeak).png
Another cubemap of the placeholder garden, this time closer to one of the balconies.

AHatIntime CubemapFace2 13(CruiseLeak).pngAHatIntime CubemapFace1 13(CruiseLeak).pngAHatIntime CubemapFace3 13(CruiseLeak).pngAHatIntime CubemapFace0 13(CruiseLeak).png
AHatIntime CubemapFace5 13(CruiseLeak).pngAHatIntime CubemapFace4 13(CruiseLeak).png
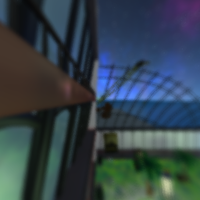
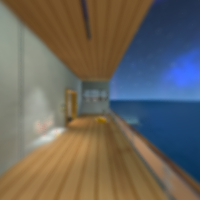
A cubemap of the exterior of the ship, showing the older map system in place, the older skybox, the removed distant city and islands, and the different ropes supporting the lifeboats.

AHatIntime CubemapFace2 7(CruiseLeak).pngAHatIntime CubemapFace1 7(CruiseLeak).pngAHatIntime CubemapFace3 7(CruiseLeak).pngAHatIntime CubemapFace0 7(CruiseLeak).png
AHatIntime CubemapFace5 7(CruiseLeak).pngAHatIntime CubemapFace4 7(CruiseLeak).png
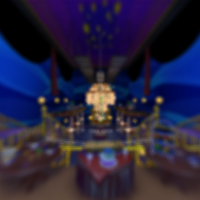
Another cubemap of the lobby.


AHatIntime CubemapFace2 15(CruiseLeak).pngAHatIntime CubemapFace1 15(CruiseLeak).pngAHatIntime CubemapFace3 15(CruiseLeak).pngAHatIntime CubemapFace0 15(CruiseLeak).png
AHatIntime CubemapFace5 15(CruiseLeak).pngAHatIntime CubemapFace4 15(CruiseLeak).png
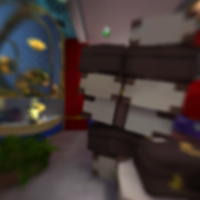
Another cubemap of the dining room, this one being much closer to the large glass wall. The layout in the tank behind the wall seems to be the same as the final.

AHatIntime CubemapFace2 17(CruiseLeak).pngAHatIntime CubemapFace1 17(CruiseLeak).pngAHatIntime CubemapFace3 17(CruiseLeak).pngAHatIntime CubemapFace0 17(CruiseLeak).png
AHatIntime CubemapFace5 17(CruiseLeak).pngAHatIntime CubemapFace4 17(CruiseLeak).png
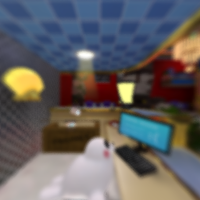
Yet another cubemap of the lobby, this one being right above the reception desk. It shows off the early lost and found box, which is a generic wooden crate instead of a unique cardboard box at this point.
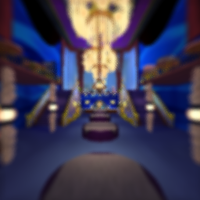

AHatIntime CubemapFace2 19(CruiseLeak).pngAHatIntime CubemapFace1 19(CruiseLeak).pngAHatIntime CubemapFace3 19(CruiseLeak).pngAHatIntime CubemapFace0 19(CruiseLeak).png
AHatIntime CubemapFace5 19(CruiseLeak).pngAHatIntime CubemapFace4 19(CruiseLeak).png
A cubemap of the pool area.


AHatIntime CubemapFace2 21(CruiseLeak).pngAHatIntime CubemapFace1 21(CruiseLeak).pngAHatIntime CubemapFace3 21(CruiseLeak).pngAHatIntime CubemapFace0 21(CruiseLeak).png
AHatIntime CubemapFace5 21(CruiseLeak).pngAHatIntime CubemapFace4 21(CruiseLeak).png
Yet another cubemap of the dining room, giving a closer look at the purple sliding tables as well as the early model for the fancy kitchen gate.


AHatIntime CubemapFace2 25(CruiseLeak).pngAHatIntime CubemapFace1 25(CruiseLeak).pngAHatIntime CubemapFace3 25(CruiseLeak).pngAHatIntime CubemapFace0 25(CruiseLeak).png
AHatIntime CubemapFace5 25(CruiseLeak).pngAHatIntime CubemapFace4 25(CruiseLeak).png
Another pool cubemap, being slightly different compared to the other one.
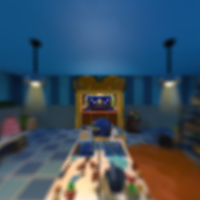

AHatIntime CubemapFace2 23(CruiseLeak).pngAHatIntime CubemapFace1 23(CruiseLeak).pngAHatIntime CubemapFace3 23(CruiseLeak).pngAHatIntime CubemapFace0 23(CruiseLeak).png
AHatIntime CubemapFace5 23(CruiseLeak).pngAHatIntime CubemapFace4 23(CruiseLeak).png
A cubemap of the kitchen, show its different textures compared to the final.
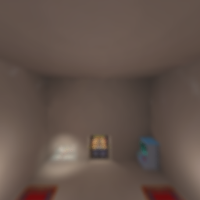

AHatIntime CubemapFace2 27(CruiseLeak).pngAHatIntime CubemapFace1 27(CruiseLeak).pngAHatIntime CubemapFace3 27(CruiseLeak).pngAHatIntime CubemapFace0 27(CruiseLeak).png
AHatIntime CubemapFace5 27(CruiseLeak).pngAHatIntime CubemapFace4 27(CruiseLeak).png
A cubemap of the early captain's room, showing just how barren and undetailed it is at this stage.

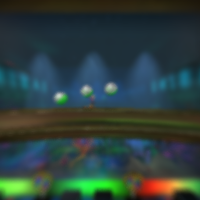
AHatIntime CubemapFace2 29(CruiseLeak).pngAHatIntime CubemapFace1 29(CruiseLeak).pngAHatIntime CubemapFace3 29(CruiseLeak).pngAHatIntime CubemapFace0 29(CruiseLeak).png
AHatIntime CubemapFace5 29(CruiseLeak).pngAHatIntime CubemapFace4 29(CruiseLeak).png
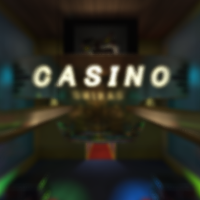
A cubemap of the early casino room. There are no NPCs in this room, unlike the final, which has many.


AHatIntime CubemapFace2 31(CruiseLeak).pngAHatIntime CubemapFace1 31(CruiseLeak).pngAHatIntime CubemapFace3 31(CruiseLeak).pngAHatIntime CubemapFace0 31(CruiseLeak).png
AHatIntime CubemapFace5 31(CruiseLeak).pngAHatIntime CubemapFace4 31(CruiseLeak).png
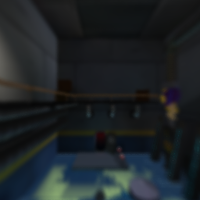
A cubemap of the engine room, showing different textures on the walls and giving a look at the early model for Shocktopus. The ocean water plane is not hidden in this cubemap.


AHatIntime CubemapFace2 33(CruiseLeak).pngAHatIntime CubemapFace1 33(CruiseLeak).pngAHatIntime CubemapFace3 33(CruiseLeak).pngAHatIntime CubemapFace0 33(CruiseLeak).png
AHatIntime CubemapFace5 33(CruiseLeak).pngAHatIntime CubemapFace4 33(CruiseLeak).png
A cubemap of the early laundry room, again showing different textures on the walls and floor and showing the ocean's water plane cutting through the room.

AHatIntime CubemapFace2 35(CruiseLeak).pngAHatIntime CubemapFace1 35(CruiseLeak).pngAHatIntime CubemapFace3 35(CruiseLeak).pngAHatIntime CubemapFace0 35(CruiseLeak).png
AHatIntime CubemapFace5 35(CruiseLeak).pngAHatIntime CubemapFace4 35(CruiseLeak).png
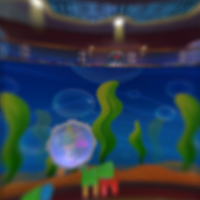
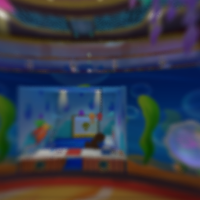
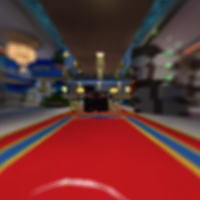
A cubemap of the toddler's room, which looks almost exactly the same as the final.
AHatIntime CubemapFace2 37(CruiseLeak).pngAHatIntime CubemapFace1 37(CruiseLeak).pngAHatIntime CubemapFace3 37(CruiseLeak).pngAHatIntime CubemapFace0 37(CruiseLeak).png
AHatIntime CubemapFace5 37(CruiseLeak).pngAHatIntime CubemapFace4 37(CruiseLeak).png

AHatIntime CubemapFace2 39(CruiseLeak).pngAHatIntime CubemapFace1 39(CruiseLeak).pngAHatIntime CubemapFace3 39(CruiseLeak).pngAHatIntime CubemapFace0 39(CruiseLeak).png
AHatIntime CubemapFace5 39(CruiseLeak).pngAHatIntime CubemapFace4 39(CruiseLeak).png
Two more cubemaps of the lobby, showing the early map system quite clearly.


AHatIntime CruiseLeakedCubemap1.pngAHatIntime CubemapFace1 41(CruiseLeak).pngAHatIntime CubemapFace3 41(CruiseLeak).pngAHatIntime CubemapFace0 41(CruiseLeak).png
AHatIntime CubemapFace5 41(CruiseLeak).pngAHatIntime CubemapFace4 41(CruiseLeak).png
Another cubemap of the placeholder captain's room, this time with the Time Piece for Act 1 in it.


AHatIntime CubemapFace2 43(CruiseLeak).pngAHatIntime CubemapFace1 43(CruiseLeak).pngAHatIntime CubemapFace3 43(CruiseLeak).pngAHatIntime CubemapFace0 43(CruiseLeak).png
AHatIntime CubemapFace5 43(CruiseLeak).pngAHatIntime CubemapFace4 43(CruiseLeak).png
A cubemap of the placeholder platforms for the platforming segment the player must traverse before boarding the ship.


AHatIntime CubemapFace2 45(CruiseLeak).pngAHatIntime CubemapFace1 45(CruiseLeak).pngAHatIntime CubemapFace3 45(CruiseLeak).pngAHatIntime CubemapFace0 45(CruiseLeak).png
AHatIntime CubemapFace5 45(CruiseLeak).pngAHatIntime CubemapFace4 45(CruiseLeak).png
A cubemap of the room the player starts in down at the docks in Act 1.

Deep Sea Rift

AHatIntime CubemapFace2(AquariumLeak).pngAHatIntime CubemapFace1(AquariumLeak).pngAHatIntime CubemapFace3(AquariumLeak).pngAHatIntime CubemapFace0(AquariumLeak).png
AHatIntime CubemapFace5(AquariumLeak).pngAHatIntime CubemapFace4(AquariumLeak).png
A cubemap of the second floor of the rift, showing the duller lighting the level has overall compared to the final.


AHatIntime CubemapFace2 13(AquariumLeak).pngAHatIntime CubemapFace1 13(AquariumLeak).pngAHatIntime CubemapFace3 13(AquariumLeak).pngAHatIntime CubemapFace0 13(AquariumLeak).png
AHatIntime CubemapFace5 13(AquariumLeak).pngAHatIntime CubemapFace4 13(AquariumLeak).png
A cubemap of the third floor of the rift.


AHatIntime CubemapFace2 3(AquariumLeak).pngAHatIntime CubemapFace1 3(AquariumLeak).pngAHatIntime CubemapFace3 3(AquariumLeak).pngAHatIntime CubemapFace0 3(AquariumLeak).png
AHatIntime CubemapFace5 3(AquariumLeak).pngAHatIntime CubemapFace4 3(AquariumLeak).png
A cubemap of the fifth floor of the rift. Note that the lava has dark chunks in it, a feature of its material that allows for vertex painting on the model to display molten chunks of rock. This feature would break completely before the release of DLC 1, no longer displaying the vertex paint on any model that uses this material. This bug would be fixed in 2021 just before the release of the updated console versions of the game, but would break again sometime before the end of 2021, and currently remains broken.


AHatIntime CubemapFace2 5(AquariumLeak).pngAHatIntime CubemapFace1 5(AquariumLeak).pngAHatIntime CubemapFace3 5(AquariumLeak).pngAHatIntime CubemapFace0 5(AquariumLeak).png
AHatIntime CubemapFace5 5(AquariumLeak).pngAHatIntime CubemapFace4 5(AquariumLeak).png
A cubemap of the top of the first floor of the rift, right in front of the rift gate. The barnacles at the base of the gate are arranged a little bit differently compared to the final version.


AHatIntime CubemapFace2 7(AquariumLeak).pngAHatIntime CubemapFace1 7(AquariumLeak).pngAHatIntime CubemapFace3 7(AquariumLeak).pngAHatIntime CubemapFace0 7(AquariumLeak).png
AHatIntime CubemapFace5 7(AquariumLeak).pngAHatIntime CubemapFace4 7(AquariumLeak).png
Another cubemap of the third floor of the rift.


AHatIntime CubemapFace2 11(AquariumLeak).pngAHatIntime CubemapFace1 11(AquariumLeak).pngAHatIntime CubemapFace3 11(AquariumLeak).pngAHatIntime CubemapFace0 11(AquariumLeak).png
AHatIntime CubemapFace5 11(AquariumLeak).pngAHatIntime CubemapFace4 11(AquariumLeak).png
Another cubemap of the first floor of the rift.


AHatIntime CubemapFace2 9(AquariumLeak).pngAHatIntime CubemapFace1 9(AquariumLeak).pngAHatIntime CubemapFace3 9(AquariumLeak).pngAHatIntime CubemapFace0 9(AquariumLeak).png
AHatIntime CubemapFace5 9(AquariumLeak).pngAHatIntime CubemapFace4 9(AquariumLeak).png

AHatIntime CubemapFace2 15(AquariumLeak).pngAHatIntime CubemapFace1 15(AquariumLeak).pngAHatIntime CubemapFace3 15(AquariumLeak).pngAHatIntime CubemapFace0 15(AquariumLeak).png
AHatIntime CubemapFace5 15(AquariumLeak).pngAHatIntime CubemapFace4 15(AquariumLeak).png

AHatIntime CubemapFace2 17(AquariumLeak).pngAHatIntime CubemapFace1 17(AquariumLeak).pngAHatIntime CubemapFace3 17(AquariumLeak).pngAHatIntime CubemapFace0 17(AquariumLeak).png
AHatIntime CubemapFace5 17(AquariumLeak).pngAHatIntime CubemapFace4 17(AquariumLeak).png
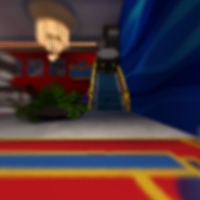
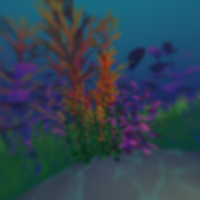
Three cubemaps of the fourth floor of the rift, showing the sunken ship area to be almost exactly the same as the final.
AHatIntime CubemapFace2 19(AquariumLeak).pngAHatIntime CubemapFace1 19(AquariumLeak).pngAHatIntime CubemapFace3 19(AquariumLeak).pngAHatIntime CubemapFace0 19(AquariumLeak).png
AHatIntime CubemapFace5 19(AquariumLeak).pngAHatIntime CubemapFace4 19(AquariumLeak).png
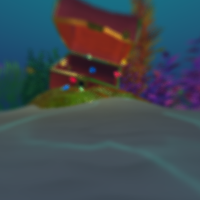
A cubemap of the final floor of the rift, showing the giant treasure chest.


AHatIntime CubemapFace2 21(AquariumLeak).pngAHatIntime CubemapFace1 21(AquariumLeak).pngAHatIntime CubemapFace3 21(AquariumLeak).pngAHatIntime CubemapFace0 21(AquariumLeak).png
AHatIntime CubemapFace5 21(AquariumLeak).pngAHatIntime CubemapFace4 21(AquariumLeak).png
Another cubemap of the final floor, this one being inside the giant treasure chest.


AHatIntime CubemapFace2 23(AquariumLeak).pngAHatIntime CubemapFace1 23(AquariumLeak).pngAHatIntime CubemapFace3 23(AquariumLeak).pngAHatIntime CubemapFace0 23(AquariumLeak).png
AHatIntime CubemapFace5 23(AquariumLeak).pngAHatIntime CubemapFace4 23(AquariumLeak).png
Another cubemap of the third floor of the rift, this one at the area where the player begins the floor.


AHatIntime CubemapFace2 25(AquariumLeak).pngAHatIntime CubemapFace1 25(AquariumLeak).pngAHatIntime CubemapFace3 25(AquariumLeak).pngAHatIntime CubemapFace0 25(AquariumLeak).png
AHatIntime CubemapFace5 25(AquariumLeak).pngAHatIntime CubemapFace4 25(AquariumLeak).png
A cubemap of the first floor, at the location where the player begins the level.


AHatIntime CubemapFace2 27(AquariumLeak).pngAHatIntime CubemapFace1 27(AquariumLeak).pngAHatIntime CubemapFace3 27(AquariumLeak).pngAHatIntime CubemapFace0 27(AquariumLeak).png
AHatIntime CubemapFace5 27(AquariumLeak).pngAHatIntime CubemapFace4 27(AquariumLeak).png
Another cubemap of the fifth floor, where the player begins the floor.


AHatIntime CubemapFace2 31(AquariumLeak).pngAHatIntime CubemapFace1 31(AquariumLeak).pngAHatIntime CubemapFace3 31(AquariumLeak).pngAHatIntime CubemapFace0 31(AquariumLeak).png
AHatIntime CubemapFace5 31(AquariumLeak).pngAHatIntime CubemapFace4 31(AquariumLeak).png
Another cubemap of the forth floor, where the player begins the floor.


AHatIntime CubemapFace2 29(AquariumLeak).pngAHatIntime CubemapFace1 29(AquariumLeak).pngAHatIntime CubemapFace3 29(AquariumLeak).pngAHatIntime CubemapFace0 29(AquariumLeak).png
AHatIntime CubemapFace5 29(AquariumLeak).pngAHatIntime CubemapFace4 29(AquariumLeak).png
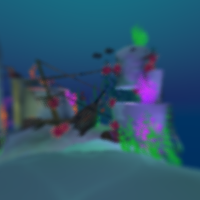
Another cubemap of the second floor, where the player begins the floor.

AHatIntime CubemapFace2 33(AquariumLeak).pngAHatIntime CubemapFace1 33(AquariumLeak).pngAHatIntime CubemapFace3 33(AquariumLeak).pngAHatIntime CubemapFace0 33(AquariumLeak).png
AHatIntime CubemapFace5 33(AquariumLeak).pngAHatIntime CubemapFace4 33(AquariumLeak).png
Another cubemap of the final floor, where the player begins the floor.